Last updated: September 15, 2026
Learning how to choose an iptv encoder comes down to nine decisions: input type, codec, resolution, protocols, channel count, latency, hardware versus software, budget tier, and brand support history. Get those nine right and almost any unit in your price range will work; get them wrong and even expensive gear disappoints. This guide walks through how to choose an iptv encoder step by step.
On this page
- What Does an IPTV Encoder Actually Do?
- How to Choose an IPTV Encoder: The 9-Step Framework
- IPTV Encoder Buying Framework at a Glance
- Hardware vs Software Encoders: Which Should You Choose
- Real-World Example: Choosing Between Two Encoders
- Budget Tiers Explained: What You Get at Each Price Point
- Matching the Encoder to Your Use Case
- Common Mistakes When Choosing an Encoder
- Quick Checklist: How to Choose an IPTV Encoder in Under 5 Minutes
- Key takeaways
- FAQ: how to choose an iptv encoder
- Final Verdict: How to Choose an IPTV Encoder You’ll Actually Be Happy With
What Does an IPTV Encoder Actually Do?
An encoder takes a raw video signal, usually from a camera, set-top box, or satellite receiver via HDMI or SDI, and compresses it into a digital format that can travel over IP networks as RTMP, HLS, SRT, or UDP multicast. It sits between your video source and your server, middleware, or CDN.
Every IPTV headend, reseller adding a local channel, church streaming a service, or hotel distributing a channel feed needs one somewhere in the chain. Choosing the wrong one means either overpaying for capability you won’t use or underbuying and hitting reliability problems during a live event.
Most first-time buyers assume every encoder does roughly the same job at a different price, which isn’t true. The gap between a $150 unit and a $2000 unit shows up in sustained reliability, protocol depth, and channel density, not in a dramatically sharper picture on a typical living room TV.
How to Choose an IPTV Encoder: The 9-Step Framework
We built this framework from reviewing dozens of encoder spec sheets and talking to small broadcasters, resellers, and AV teams about what actually mattered once the gear was in daily use versus what looked impressive on a product page.
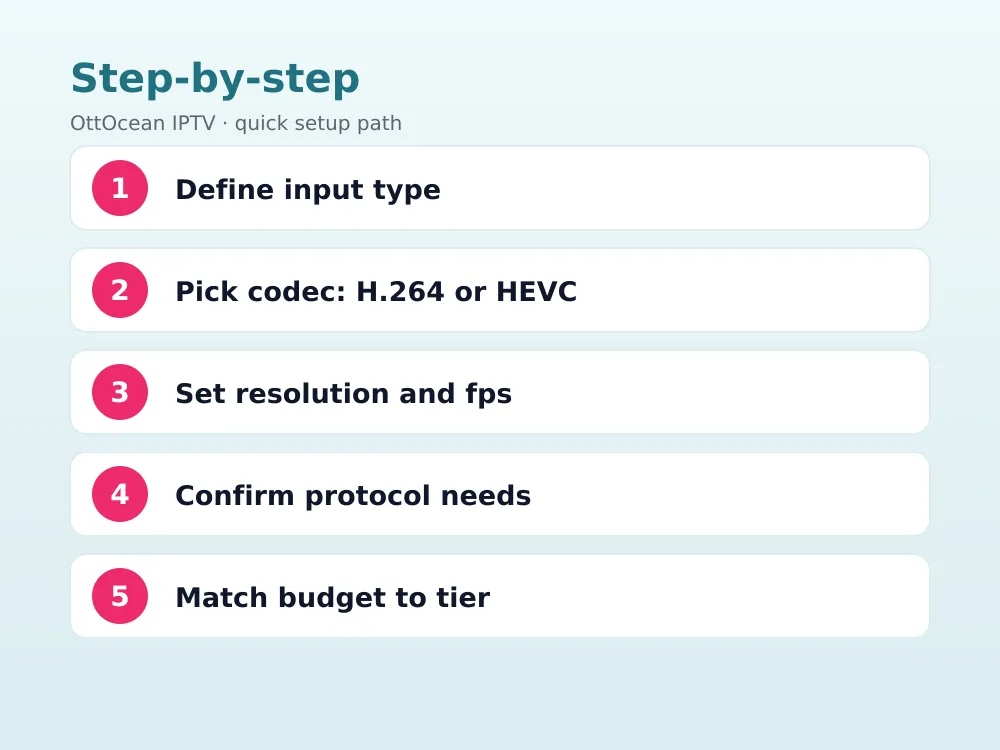
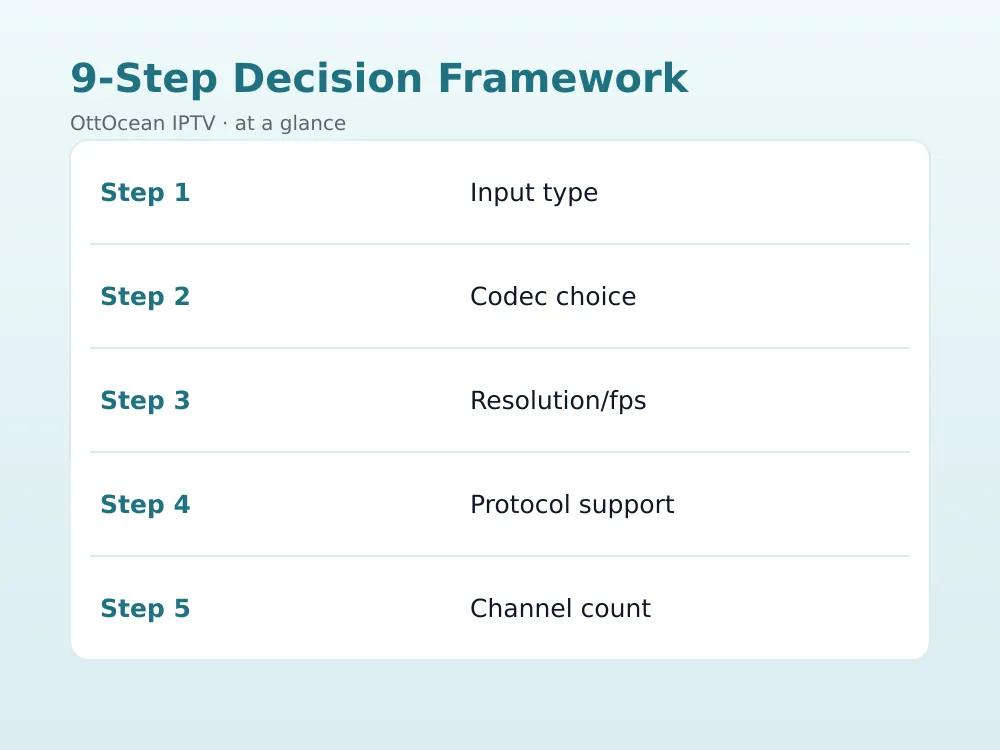
Here’s the full nine-step list at a glance before we walk through each one in detail below.
- Define your input type (HDMI, SDI, or both)
- Pick H.264 or H.265/HEVC based on bandwidth needs
- Set your resolution and frame rate target
- Confirm the protocols you actually need (RTMP, HLS, SRT, UDP)
- Decide how many channels you genuinely need
- Check your latency requirements for live vs relay use
- Weigh hardware vs software encoding for your workflow
- Match your budget tier to your reliability needs
- Verify the brand’s support and firmware update history
Step 1: Define Your Input Type
Start with what you’re actually plugging in. HDMI covers most consumer and prosumer cameras, set-top boxes, and computers. SDI matters for professional cameras and for cable runs longer than about 15 meters, where HDMI signal degrades. Some units accept both; cheaper ones pick one or the other. If you’re mixing sources, an encoder with both inputs saves you from buying a separate converter later. This is genuinely step one in how to choose an iptv encoder correctly.
Step 2: Pick H.264 or H.265/HEVC
H.264 is universally compatible but needs roughly double the bitrate of H.265 (HEVC) for equivalent visual quality. If bandwidth is tight or you’re streaming 4K, HEVC saves real money on upstream data. If maximum compatibility with older players matters more, H.264 remains the safer default.
Step 3: Set Your Resolution and Frame Rate Target
Match resolution to what your viewers can actually use. 1080p60 suits most live sports and general IPTV relay. 4K30 makes sense only if your audience has 4K displays and enough bandwidth to receive it without buffering; otherwise you’re paying for encoding capability nobody benefits from. This step is often skipped in how to choose an iptv encoder discussions, but it directly drives your bandwidth costs.
Step 4: Confirm the Protocols You Actually Need
RTMP is simple and broadly supported but being phased out by some platforms. HLS is what most players ultimately consume. SRT is the modern standard for reliable delivery over the open internet. UDP multicast suits closed local networks like a hotel or apartment building. Most public-internet use cases need SRT support specifically, and skipping this step is the single most common regret we hear from first-time buyers.
Step 5: Decide How Many Channels You Need
Be honest about your actual channel count rather than buying for hypothetical future growth. A single-channel encoder is cheaper, simpler to troubleshoot, and easier to replace if it fails. Multi-channel units earn their higher price only once you’re genuinely running two or more simultaneous feeds from one location.
Step 6: Check Latency Requirements
Live sports and interactive events need sub-second to two-second glass-to-glass latency. General IPTV relay or a recorded-and-replayed channel can tolerate 3-5 seconds without anyone noticing. Don’t pay extra for ultra-low latency features you don’t actually need for your use case.
Step 7: Weigh Hardware vs Software Encoding
A hardware vs software encoder decision comes down to reliability versus flexibility. Dedicated hardware encoders use a purpose-built chip and tend to run cooler and more stably for 24/7 use. Software encoders running on a PC, like OBS or vMix, offer more flexibility and lower upfront cost but depend on the host computer’s stability.
Step 8: Match Your Budget Tier to Your Reliability Needs
Budget tiers roughly map to reliability and channel density: under $500 for casual single-channel use, $500-$1000 for dependable value-tier gear with real HEVC and SRT support, and $1000-$3000-plus for multi-channel professional reliability with dedicated support contracts.
Step 9: Verify the Brand’s Support and Firmware Update History
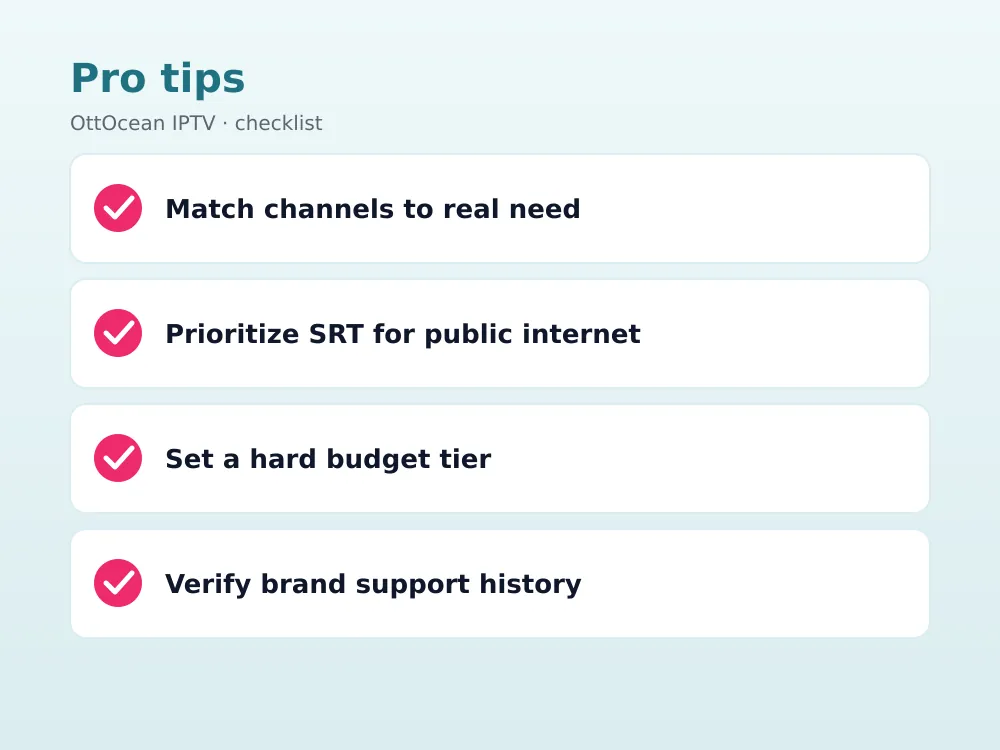
Check how long the manufacturer has supported previous models with firmware updates before buying. A brand that abandons units after 18 months is a worse long-term investment than a slightly pricier unit from a company with a multi-year update track record, even if the specs look similar on paper. Search the model name plus “firmware” before buying to see how recently it was actually updated.
IPTV Encoder Buying Framework at a Glance
Here’s how the nine steps map to a quick reference table you can use while comparing specific units.
| Step | Question to Answer | Why It Matters |
|---|---|---|
| 1. Input | HDMI, SDI, or both? | Determines source compatibility |
| 2. Codec | H.264 or H.265/HEVC? | Affects bandwidth cost |
| 3. Resolution | 1080p or 4K? | Match to viewer capability |
| 4. Protocols | RTMP, HLS, SRT, UDP? | Determines delivery reliability |
| 5. Channels | 1, 2, or 4+? | Avoid overbuying capacity |
| 6. Latency | Sub-second or a few seconds? | Live vs relay use case |
| 7. Hardware/Software | Dedicated box or PC-based? | Reliability vs flexibility |
| 8. Budget | Under $500 to $3000+? | Sets realistic expectations |
| 9. Support | Firmware update history? | Long-term reliability |
Hardware vs Software Encoders: Which Should You Choose
A dedicated hardware encoder is almost always the better choice for 24/7 unattended operation, since it doesn’t share resources with an operating system, doesn’t need Windows updates, and generally runs for months without a reboot. This is what most IPTV resellers and hotels should choose when weighing a hardware vs software encoder decision.
A software encoder makes more sense for live production where you need scene switching, overlays, and multiple source mixing, since tools like OBS and vMix offer production flexibility that no standalone hardware box matches. Many professional setups actually use both: software for production, hardware for the final encode and push.
Cost also factors into the hardware vs software encoder decision. Software encoding is effectively free if you already own a capable PC, while a dedicated hardware unit is a fixed upfront cost. Over a multi-year deployment, though, hardware often wins on total cost once you factor in the PC’s power draw and the time spent troubleshooting operating system issues.
Real-World Example: Choosing Between Two Encoders
Say a small church needs to stream one weekly service from a single HDMI camera to Facebook and YouTube simultaneously. Applying the framework: input is HDMI-only, H.264 is fine since 4K isn’t needed, RTMP covers both destinations, one channel is enough, and a few seconds of latency is acceptable for a non-interactive broadcast.
That points toward a single-channel, H.264-capable, RTMP-focused unit under $500, not a $2000 multi-channel HEVC box. Applying the same encoder buying framework to an IPTV reseller adding two regional channels over the open internet would point toward a very different answer: dual-channel, HEVC, SRT-capable, in the $800-$1500 range.
This is the core value of learning how to choose an iptv encoder methodically rather than just buying the highest-rated unit on a retailer’s site: the “best” encoder is entirely dependent on your specific use case, not a single universal ranking.
Budget Tiers Explained: What You Get at Each Price Point
Under $500 buys single-channel H.264 or basic H.265 encoding with acceptable but not bulletproof reliability. Between $500 and $1000, you get genuine hardware HEVC chips, dependable SRT, and better sustained bitrate stability. Between $1000 and $3000, you add multi-channel density, NDI ecosystem support, and real support contracts.
Our detailed breakdowns of each tier, including specific tested models, live in our complete IPTV encoder buying guide, which pairs well with this framework once you know which tier fits your budget and needs.
This encoder buying framework isn’t meant to lock you into one tier forever. Many resellers start in the sub-$500 tier, prove out demand for a local channel, and reinvest in an $800-$1500 unit once the extra reliability and channel count actually pay for themselves in retained subscribers.
Matching the Encoder to Your Use Case
An IPTV reseller adding one or two local channels should prioritize steps 4, 5, and 9: protocol reliability, modest channel count, and long-term firmware support. Our IPTV reseller business guide covers where encoding fits into that broader business decision.
A church or venue streaming a weekly service should prioritize steps 1, 6, and 8: input compatibility with existing cameras, acceptable latency for a live but non-interactive event, and a budget tier that matches an occasional-use schedule rather than 24/7 broadcast demands.
Someone who wants to compare iptv encoders for professional use, meaning genuine broadcast reliability across multiple simultaneous channels, should focus on steps 5, 7, and 9 above everything else, since channel density, hardware reliability, and long-term support matter more than any single spec.
Hospitality teams comparing options for a hotel or venue should weigh steps 5 and 8 most heavily, since room count and channel density drive the budget more than any other factor. Our separate guide on hotel-specific encoder needs covers that use case in more depth if it applies to you.
Common Mistakes When Choosing an Encoder
The most common mistake is buying based on the highest advertised bitrate rather than sustained real-world performance. A unit rated for “20 Mbps max” that drops frames after twenty minutes at that setting is a worse buy than a unit rated lower that holds steady indefinitely.
The second mistake is ignoring protocol needs until after purchase. If you’re streaming across the open internet, SRT support isn’t optional in 2026; discovering a unit lacks it after buying means either a firmware gamble or returning the unit entirely.
The third mistake is skipping a real soak test. Any encoder buying framework should include running the unit at your actual target bitrate for at least two hours before trusting it with a live event that can’t be redone.
The fourth mistake is skipping steps 1 through 9 entirely and just copying whatever a forum thread recommended. Learning how to choose an iptv encoder for your own specific input, protocol, and channel needs takes twenty minutes and avoids buying gear that’s wrong for your actual setup.
Quick Checklist: How to Choose an IPTV Encoder in Under 5 Minutes
If you only have five minutes, here’s the compressed version of how to choose an iptv encoder without reading the full nine-step breakdown above. Answer these five questions and you’ll land within one tier of the right unit for your use case.
- What am I plugging in: HDMI, SDI, or both?
- Do I need SRT for open-internet delivery, or is a closed network fine?
- How many simultaneous channels do I genuinely need right now?
- Do I need sub-second latency, or is a few seconds of delay acceptable?
- What’s my realistic budget tier: under $500, $500-$1000, or $1000-$3000-plus?
Once you can answer all five, use the full encoder buying framework above, along with our how IPTV works guide, to narrow down specific models within your tier before making a final purchase decision.
Key takeaways
- Knowing how to choose an iptv encoder starts with defining your input type and codec needs first, then working through the rest of the framework in order
- SRT protocol support is essentially mandatory for reliable delivery over the open internet in 2026
- Buy channel count for your actual current need, not hypothetical future growth
- A hardware vs software encoder decision depends on whether you need 24/7 reliability or production flexibility
- Budget tiers map roughly to reliability: under $500, $500-$1000, and $1000-$3000-plus
- Always verify the manufacturer’s firmware update history before a purchase
- Soak-test any unit for at least two hours before trusting it with a live event
FAQ: how to choose an iptv encoder
What’s the single most important factor in how to choose an iptv encoder?
Protocol support, specifically SRT, matters most for anyone streaming over the open internet. A unit can excel on every other spec, but without reliable SRT it will struggle with packet loss and dropped connections during real-world live delivery.
Should I choose a hardware vs software encoder for a small IPTV business?
Hardware is generally the better choice for unattended 24/7 operation, since it doesn’t depend on a computer’s operating system staying stable. Software encoders suit live production work where scene switching and overlays matter more than pure reliability.
How do I compare iptv encoders for professional use versus casual use?
Professional use prioritizes channel density, hardware reliability, redundancy, and long-term manufacturer support contracts. Casual use can prioritize price and simplicity instead, since an occasional dropped frame matters less for a hobby project than for paid broadcast work. When in doubt, apply the full nine-step framework rather than shortcutting it.
Do I need 4K encoding or is 1080p enough?
Only pay for 4K if your viewers actually have 4K displays and sufficient bandwidth to receive a 4K stream without buffering. Most IPTV relay use cases are still well served by 1080p60, which is easier on both encoding hardware and viewer bandwidth.
What’s a reasonable encoder buying framework budget for a first purchase?
For a first purchase, start in the $400-$800 range, which now includes genuine hardware HEVC encoding and SRT support. This avoids both the reliability compromises of the cheapest gear and overspending before you know your actual long-term channel needs. You can always upgrade once you understand your real usage pattern.
Does choosing the right encoder matter if I only want to watch IPTV, not broadcast it?
No. Encoders are for producing your own channel feed. If you simply want to watch existing IPTV channels and VOD content, a subscription service already handles all the encoding on the provider’s end, and you don’t need to buy any of this hardware.
Final Verdict: How to Choose an IPTV Encoder You’ll Actually Be Happy With
The short version of how to choose an iptv encoder is: define your input and codec needs, confirm SRT support, buy the channel count you actually use, pick hardware for reliability or software for production flexibility, and match your budget tier honestly to your reliability requirements.
If you’d rather skip building your own channel feed entirely, check OttOcean’s IPTV subscription plans or start the free 5-day trial, no credit card required, to see channel and VOD quality for yourself. For background on the H.265/HEVC standard referenced throughout this guide, see the Wikipedia entry on HEVC.