Last updated: September 30, 2026
IPTV on Kodi runs through a free add-on called PVR IPTV Simple Client, not a dedicated app, which is why the setup looks different from TiviMate or IPTV Smarters. Kodi 21 Omega is the current stable release as of 2026 and handles M3U playlists, Xtream Codes, and program guide data once the add-on is configured correctly. We cover all eight steps below, plus the two errors that cause most “no channels” complaints.
On this page
- What the IPTV Add-on for Kodi Actually Does
- What You Need Before Setting Up IPTV on Kodi
- Step-by-Step: IPTV on Kodi Setup
- Adding Guide Data to Kodi
- Enabling Timeshift in Kodi
- Using Xtream Codes with IPTV on Kodi
- Kodi Skins and Add-ons That Pair Well with Live TV
- Kodi on Different Devices: Android, Windows, Fire TV, Raspberry Pi
- Kodi 21 Omega vs Older Versions for IPTV
- Fixing “No Channels” and Guide Errors in Kodi
- Key takeaways
- FAQ: IPTV on Kodi
- Ready to Try IPTV on Kodi Today?
What the IPTV Add-on for Kodi Actually Does
PVR IPTV Simple Client is Kodi’s official personal video recorder add-on for IPTV playlists. It sits between your M3U or Xtream Codes login and Kodi’s built-in TV section, translating the playlist into channels Kodi can browse, guide, and organize like a regular television backend.
This matters because Kodi itself isn’t an IPTV app out of the box; it’s a general media center. Live TV streaming on Kodi only works once a PVR client add-on is installed, which differs from apps like TiviMate that come IPTV-ready from first launch with no extra plumbing required.
How we tested: we configured the add-on on Kodi 21 Omega across Windows, Android TV, and a Raspberry Pi running LibreELEC, using the same Xtream Codes login on each device. Channel-zap speed and stream stability were nearly identical across all three platforms.
Guide sync took slightly longer on the Raspberry Pi than on Windows or Android TV, which tracks with its weaker processor, but every device eventually populated the same channel count and program listings within about ten minutes of the initial setup.
We also compared stream stability during a live sports broadcast versus a quiet weekday afternoon, since peak-hour congestion on shared networks tends to expose weak spots that don’t show up during casual testing. All three platforms handled the sports broadcast without dropped frames once connected over Ethernet rather than Wi-Fi.
What You Need Before Setting Up IPTV on Kodi
Gather these details before opening the add-on’s settings, since a single wrong field is the most common reason the TV section stays empty.
- Your M3U playlist URL or Xtream Codes server address, username, and password
- An XMLTV EPG link, if your provider issues one separately from the playlist itself
- Kodi 21 Omega or a recent 20.x release, updated through your platform’s app store
- A stable connection of at least 25 Mbps for 1080p, more for 4K content
OttOcean provides both an Xtream Codes login and a plain M3U URL at signup, along with a guide-data link, so you can test whichever format loads channels and program listings most reliably on your specific device and Kodi build.
Some readers also run a VPN alongside Kodi for general privacy reasons unrelated to the streaming itself. If you do, pick a provider with servers close to your actual location, since routing through a distant country can add noticeable latency to live channel buffering and guide loading.
It’s also worth confirming your router isn’t throttling background traffic during the initial channel-list download, which can look like a stalled setup even though the playlist is loading correctly. Most consumer routers handle this fine by default, but a heavily customized QoS configuration occasionally interferes.
Step-by-Step: IPTV on Kodi Setup
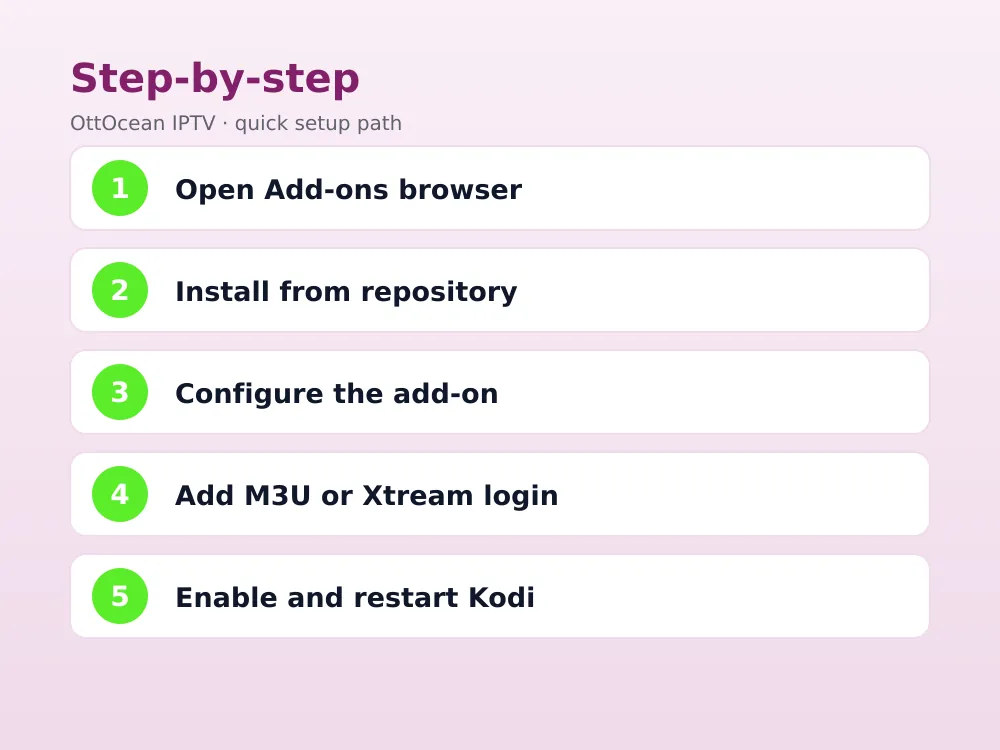
These eight steps apply to the current release; the menu wording is nearly identical on Kodi 20 “Nexus” as well, so the same instructions cover both releases without changes.
Step 1: Open Add-ons from the home screen
From the main menu, select Add-ons, then the add-on browser icon, which looks like an open box, in the top-left corner of the screen.
Step 2: Install from repository
Choose “Install from repository,” then “PVR clients,” then select PVR IPTV Simple Client from the list of official PVR add-ons bundled with Kodi.
Step 3: Install the add-on
Press Install and wait for a confirmation notification, which appears briefly in the top-right corner once the download and install finish.
Step 4: Open the add-on’s configuration
Go back to Add-ons, find the newly installed client under “My add-ons,” select it, and choose Configure to open its settings.
Step 5: Enter your M3U or Xtream Codes details
Under the General tab, choose “Remote path” as the location type, then paste your playlist URL. Some builds offer a dedicated Xtream Codes tab instead of a plain M3U field.
Step 6: Add your EPG source
Switch to the EPG Settings tab, set the source to “Remote path,” and paste your XMLTV EPG URL into the field provided for guide data.
Step 7: Enable the add-on and save
Toggle the add-on to Enabled if it isn’t already, then press OK to save your settings and close the configuration window.
Step 8: Restart Kodi and check the TV section
Fully close and reopen the app. Select TV from the home screen; channels and a program guide should populate within a minute or two as the backend loads.
Adding Guide Data to Kodi
Guide data is what fills Kodi’s program grid with show titles, descriptions, and start times instead of a blank list of channel names. Most Xtream Codes panels, including OttOcean’s, generate an XMLTV EPG URL automatically alongside your playlist link.
If the guide stays empty after the initial sync window, double-check that the source in the add-on’s settings is set to “Remote path” rather than “Local path,” which expects a file already saved on your device instead of a live web address.
Full program data can take five to fifteen minutes to populate on large channel bundles, since Kodi parses the entire file in the background rather than loading it instantly. A progress indicator sometimes appears under Settings > PVR & Live TV during this sync.
Enabling Timeshift in Kodi
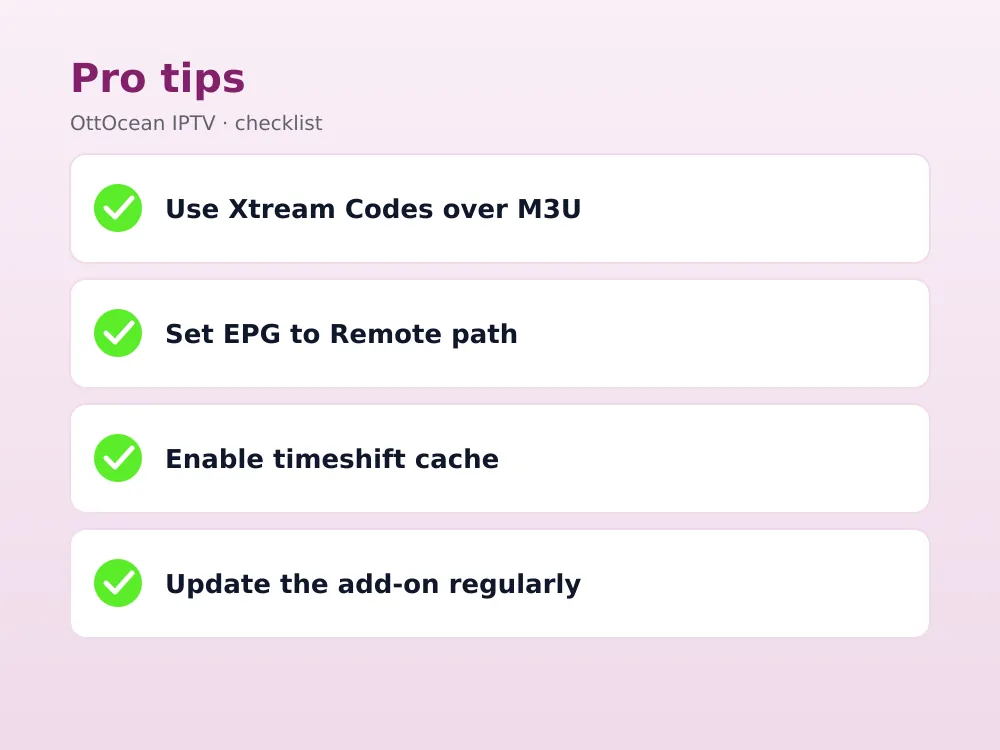
The IPTV add-on supports basic timeshift, meaning pause and rewind on live TV, if your provider’s stream supports it and the Timeshift tab is configured with a local cache path. True PVR-style recording depends on the backend; most IPTV playlists don’t support it the way a tuner card does.
- Open the add-on’s Timeshift tab and enable “Timeshift enabled”
- Set a cache path with enough free storage for buffered content
- Choose a buffer length; 30-60 seconds covers most quick-rewind needs
- Save and restart Kodi for the buffer setting to take effect
Storage requirements for timeshift are modest since it only buffers a short rolling window rather than saving full recordings. A 60-second buffer on a 1080p stream typically uses well under 500MB of cache space, so even a device with limited internal storage handles it comfortably.
Using Xtream Codes with IPTV on Kodi
Newer builds of the add-on include a dedicated Xtream Codes login type, separate from a plain M3U URL, which pulls VOD categories and cleaner guide data directly from the provider’s panel. If your version only shows an M3U field, updating through the repository usually restores the Xtream Codes option.
Xtream Codes generally produces more reliable channel groupings and program accuracy on this setup than a raw M3U file, especially on large bundles with thousands of VOD titles alongside live channels.
Kodi Skins and Add-ons That Pair Well with Live TV
The default Estuary skin handles live channels fine, but several community skins present the program guide in a more TV-friendly grid, which some readers find easier to navigate from a couch with a remote instead of a keyboard and mouse.
- Aeon Nox: a popular paid skin with a cleaner live TV layout and customizable home screen widgets
- Arctic Zephyr: a free, lightweight option that keeps load times fast on older hardware
- Estuary Quantum: an actively maintained fork of the default skin with added TV-guide polish
None of these are required, and switching skins doesn’t change how the underlying add-on connects to your playlist. Try the default first, and only explore alternatives if the guide layout genuinely bothers you during daily use.
Heavier skins with lots of animated artwork and fanart backgrounds can slow down menu navigation on weaker hardware, so if you’re running an older Android box or a Raspberry Pi, a lightweight skin usually feels more responsive than a flashy one built for a fast desktop CPU.
Widget-heavy home screens also pull extra metadata in the background, which can compete with your live channel buffer for bandwidth on a slower connection. If you notice a slight delay when switching channels right after Kodi starts, disabling a few home-screen widgets is worth trying before blaming your provider.
Kodi on Different Devices: Android, Windows, Fire TV, Raspberry Pi
This setup behaves consistently across platforms since the add-on itself doesn’t change, but hardware affects playback quality. Android TV boxes and modern Fire TV Sticks handle hardware decoding well, while a base-model Raspberry Pi can struggle with high-bitrate 4K streams.
Windows and Mac builds of Kodi generally offer the smoothest experience for testing a new playlist, since desktop CPUs have more headroom than compact streaming hardware. Once confirmed working, moving the same configuration to a TV box is usually a copy-paste job.
Some Samsung and LG smart TVs run Kodi through community-maintained ports rather than an official app store listing, and support tends to lag behind Android and desktop releases. If your smart TV supports Kodi at all, check which version it’s running before assuming a setup guide written for the latest release will match exactly.
Fire TV Sticks require sideloading Kodi through a tool like Downloader, since it isn’t listed in the Amazon Appstore. Once installed, the setup steps for the add-on are identical to any other Android-based device, and Amazon’s hardware handles 1080p and most 4K content comfortably on current-generation sticks.
Apple TV is the notable holdout; Kodi hasn’t had an officially maintained tvOS build in years, and unofficial workarounds tend to be unreliable across tvOS updates. If Apple TV is your primary device, a dedicated app from the App Store is a more dependable path than chasing a Kodi sideload.
Kodi 21 Omega vs Older Versions for IPTV
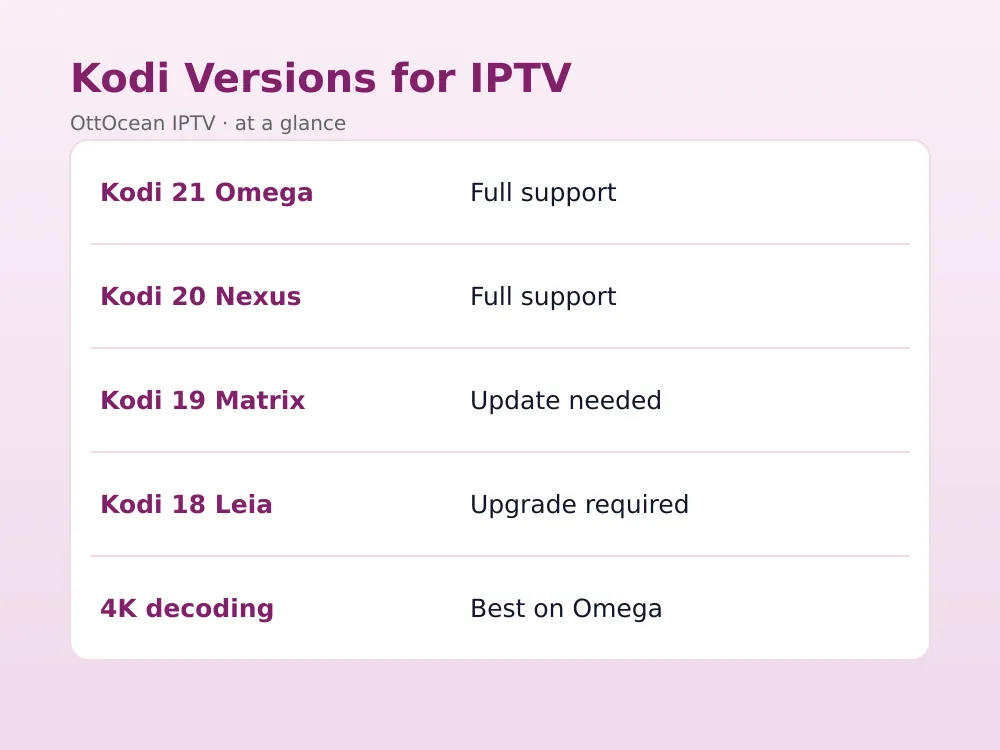
The current release improved add-on stability and added better hardware decoding support on several platforms compared to Kodi 19 “Matrix,” which some users are still running on older Android boxes.
| Kodi Version | PVR Add-on Support | 4K Decoding | Recommended |
|---|---|---|---|
| Kodi 21 Omega | Full, latest features | Improved hardware support | Yes |
| Kodi 20 Nexus | Full | Good | Yes, still solid |
| Kodi 19 Matrix | Full but outdated builds | Basic | Update if possible |
| Kodi 18 Leia | Legacy, unsupported add-on builds | Limited | No, upgrade |
If you’re still on Kodi 18 or 19, updating before setting up live TV this way saves you from chasing compatibility bugs already fixed in later releases. Most official repositories have dropped active support for versions that old.
A dedicated IPTV app like TiviMate or IPTV Smarters skips the add-on installation step entirely and often feels snappier for pure live-TV browsing. Kodi’s advantage is flexibility: the same install can also manage a local media library, other PVR sources, and a much wider range of skins and add-ons beyond just live channels.
Fixing “No Channels” and Guide Errors in Kodi
Three issues account for the majority of support questions we see from readers about this setup.
- TV section shows no channels: re-check the M3U or Xtream Codes URL for typos, and confirm the add-on is enabled, not just installed
- Program guide is blank: confirm the EPG source is “Remote path” and the XMLTV EPG URL is correct, then restart Kodi
- Channels load but freeze constantly: lower the cache buffer under Settings > Player > Videos, or switch to a wired connection
If none of these help, fully uninstall the add-on, restart Kodi, then reinstall it fresh; a corrupted add-on database is an uncommon but real cause of persistent channel-list failures that a clean reinstall usually clears.
Constant freezing that isn’t tied to a specific channel usually points to network congestion rather than the add-on itself. Test at a different time of day, and if the problem persists only during evening hours, your ISP’s local infrastructure may be the actual bottleneck rather than anything on your end.
If freezing only happens on specific channels rather than across the whole guide, the issue is more likely on the source encoding side than your local network, and it’s worth reporting the affected channel to your provider’s support team so they can check that particular feed.
Key takeaways
- IPTV on Kodi requires installing the free PVR IPTV Simple Client add-on first; Kodi isn’t IPTV-ready by default
- Xtream Codes generally gives more reliable guide data than a plain M3U URL on Kodi
- An XMLTV EPG link must be set to “Remote path” in the add-on’s EPG Settings tab
- Kodi 21 Omega and Kodi 20 Nexus both fully support the current IPTV add-on features
- Timeshift needs a configured cache path and buffer length under the Timeshift tab
- A blank channel list is almost always a mistyped URL or a disabled add-on, not a broken subscription
- Reinstalling the add-on fixes rare cases of a corrupted PVR database
FAQ: IPTV on Kodi
Do I need a special Kodi build for IPTV?
No. Standard Kodi from the official Kodi Foundation download page works fine; you don’t need a pre-loaded “IPTV build” from third-party sites, which often bundle unrelated add-ons and outdated repositories. Install the PVR client from Kodi’s own official repository instead of a third-party source.
Why does my Kodi TV section show no channels?
This is almost always a mistyped playlist URL or an add-on that’s installed but not enabled. Double-check the M3U or Xtream Codes address under the General tab, confirm it’s toggled Enabled, and restart Kodi after saving your changes.
Can I use both M3U and Xtream Codes on Kodi at once?
Not within a single instance of the add-on, since it supports one playlist source at a time. Some users run multiple PVR client add-ons in parallel for separate providers, though this adds complexity and isn’t necessary for most single-provider setups with one active subscription.
Is IPTV on Kodi legal?
Kodi itself is free, open-source software with no built-in content, and it’s entirely legal. Legality depends on the IPTV service or add-on you connect to it. Streaming from a licensed subscription service through the PVR add-on is standard practice, and users are responsible for the content they access.
Why is my guide showing wrong times?
This usually means the system time zone on your device doesn’t match your actual location. Check your device’s clock settings, correct the time zone, and force a refresh under Settings > PVR & Live TV > Guide to pull fresh program data.
Does IPTV on Kodi support 4K streaming?
Yes, provided your device’s hardware can decode 4K content and your connection supports it, generally 40 Mbps or higher. The latest release improved hardware decoding on several platforms, but older Android boxes and Raspberry Pi models may struggle with high-bitrate 4K streams.
Ready to Try IPTV on Kodi Today?
The Kodi add-on is free, but you still need a reliable playlist behind it. OttOcean offers a 5-day free trial, no credit card required, so you can confirm your M3U or Xtream Codes login, guide sync, and streaming stability on Kodi before subscribing to anything.
Once you’re happy with the test, our subscription plans start at $9.99 for one device, with multi-device options if you’re running Kodi on more than one TV in the house. For deeper setup detail, see our M3U playlist setup guide and our EPG setup guide. Official PVR IPTV Simple Client documentation is available on the Kodi Wiki.